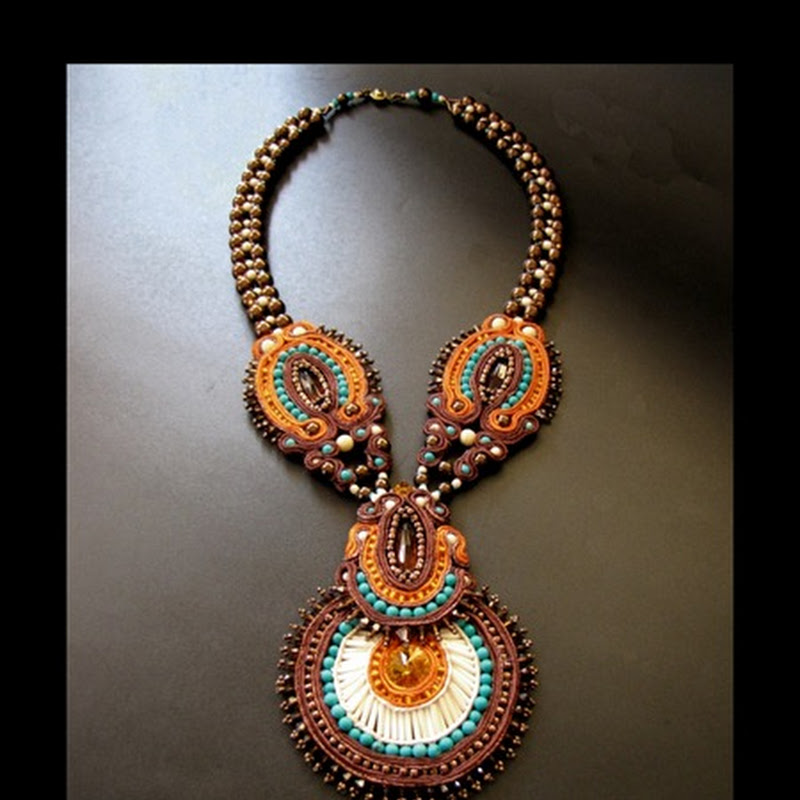
Knowing knots and doing beadwork go hand in hand! Don't let knots intimidate you, they're actually quite easy!
No matter how long a thread you use, at one time or another you'll have to end and restart your thread. No worries though, you can hide the threads invisibly in your beadwork. You can secure them in the beadwork with a small knot or by weaving around in a zigzag or circle motion so that your thread won't come out. Or, you may even bury the new end in the beads so it doesn't show. Here's some ways that are easy for you to do:
Square Knot-This is one of my most favorite knots and one that I usually use. Just try to remember, right over left then left over right. Basically this means, cross the thread in your right hand over the thread in your left hand and around and through to tie a knot. Then, cross the thread that's now in your left hand over the thread in your right hand and around and through to tie a knot again. This really makes a secure knot that won't slip out easily! Also, you can dab a small amount of clear nail polish on the knot to make sure it stays tied.
Overhand Knot- An overhand knot is good when weaving threads. It catches the thread on itself, giving added protection against unraveling. To make this knot, take a small stitch over a thread in the work and pull through until there is just a loop. Pass through the loop and pull tight. This knot is not as secure as the square knot but works well when used twice along with weaving the thread through several beads.
Surgeon's Knot- This knot is actually a variation of one used by doctors. To tie this knot, take the left end of the thread and pass it over, under, and under the right end. Next, take the right end, and pass it over, under, over and under the left end. The pull tight.
Clove Hitch Knot- Bring the working thread under and over the stationary thread, then under and over the stationary thread again, and through the loop formed by the working thread.
Weaving in or Anchor- Knots aren't used in various bead stitches, so this way you secure the thread by weaving it in and out of your project. By passing through the needle through a nearby thread then weaving in a zigzag direction through the beads until it is hidden and secured, then cut your threads tail.
To start a new thread in the middle of a project, basically follow the same principle as weaving in the end, except reverse. Weave the thread in a zigzag pattern through the beads until it is coming out of the bead the you left off on. The start beading again.
Stop Bead- A stop bead is used at the beginning of your project to prevent the beads from falling off the tail and provide tension for the first row of strung beads against which to weave.
Stop beads are easy to make. First, pick up a bead and tie a square knot about 6 inches from the tail, catching the bead in a knot. (You'll need to untie the bead later to weave in the tail thread.) You can also wrap the tail end around one of your fingers several times in the place of using a stop bead.
-


.jpg)


.jpg)


.jpg)


.jpg)


.JPG)


4 comments:
Hey you! Blog is looking great, There something waitong for you on my page.
Hi Marie...thanks Sweetie and I'll be right there.
Hugs...
Bobbi
Hi Bobbi....great to meet you...I had no idea there were so many knots...what a great read!!!
Hi Diane, very nice to meet you to! There's many more knots to but these are just ones tht I know and use. lol I hope that you have a wonderful evening!
Hugs...
Bobbi
Post a Comment